


Regardless of the state of your health or the dietary pattern you’re following, everyone can benefit from eating more vegetables! Vegetables are medicine for your body. They provide the vitamins, minerals, and phytonutrients your body needs to heal and stay healthy.
There are many ways to add more veggies to your diet. You can eat more salads, more veggie-based soups, more roasted veggies, or stir-frys, or smoothies. You can also add in more veggies with juice.
I like to think of fresh juice as a “hydrating liquid supplement”. It’s a nutrient-dense source of immune boosting, detox supporting, cancer fighting compounds that are easy to digest and quick to absorb. Making it the perfect adjunct to your healing plan.
There are a few things to consider though before adding juice to your diet.
- Fresh Is Key: The longer it’s been since a juice was pressed the less nutritional value & enzymatic activity it will contain. Now this doesn’t mean that it doesn’t still have some value, it just won’t be the same as drinking the juice right after it was pressed. On the bright side, according to some research, the enzyme activity in juice from many different types of juicing machines actually remains pretty high for several days after juicing. As a general rule, I’d suggest drinking your juice within 24 hours of pressing, although up to 48 hours could be okay and may be more realistic so you don’t have to juice every day. Store your juice in an air-tight glass bottle or mason jar and keep it in the fridge. You could also store in the freezer to drink later in the week if you wanted.
- Focus On Veggies: I know it’s easier to get fresh fruit juice in your diet since most people love the sweet taste of fruits, the problem though is that fruit juice is a quick hit of sugar. Yes, it does still contain the nutrients that are good for your body but it will also result in a spike of blood sugar. Veggies on the other hand are lower in their glycemic load and will not have this same impact on blood sugar. As you’ll see in the recipes below, I do still include a bit of fruit to balance the flavors but veggies are the main focus.
- Juicing Is Not The Same As Blending: Smoothies can also have a place at your healthy table. I’m a big fan of both. But they aren’t the same. You can read more about the differences here: Juices vs Smoothies.
- Organic Is Best: With fresh juice, using organic fruits and vegetables will definitely be best. Not only is it important to minimize your exposure to toxins but it will also have higher concentrations of phytonutrients, which means you will get even more benefit from the juice. You can read more about the importance of organics here: Choose Organic.
Types of Juicers
For cost savings, if you’re going to make juicing a regular part of your nutrition plan, then I definitely suggest investing in a juicer and making it at home. There are many different juicers out there and they all have various pros and cons.
There are 3 basic types of juicers:
- Cold-Pressed
- Masticating
- Centrifugal
The Cold-Pressed Juicers extract the most juice per ounce and retain the highest amount of enzyme activity. They use a hydraulic pressing method which uses no heat. They are also very expensive. The “king” of juicers is considered to be the Norwalk Juicer which costs $2400! The People’s Press Juicer also performs very well and is much cheaper than the Norwalk at $300.
Masticating Juicers literally grind the food (like your teeth would) and then squishes out the juice. This type of juicer does the best with leafy greens. I personally use the Champion Juicer and have for many years. I like it and it works for me. Other well-known masticating juicers include the Green Star or the Omega J8006. These types of juicers typically range between $250-$450.
According to one review of juice machines, they found that the Champion Juicer used in combination with the People’s Press outperformed even the Norwalk Juicer in both the amount of juice extracted and in enzymatic activity.
Centrifugal Juicers are the least expensive and most commonly found juicers. They use a high spinning speed which separates the juice from the pulp leaving the juice in 1 bowl and the pulp in another. These include the Breville, Omega, Juiceman, or Le Equip. They typically range from $100-$150. In order to maximize the amount of juice from these juicers, it’s recommended that you “re-juice” the pulp.
Ultimately, the best juicer is the one you will use!
Using Juice To Boost Your Healing
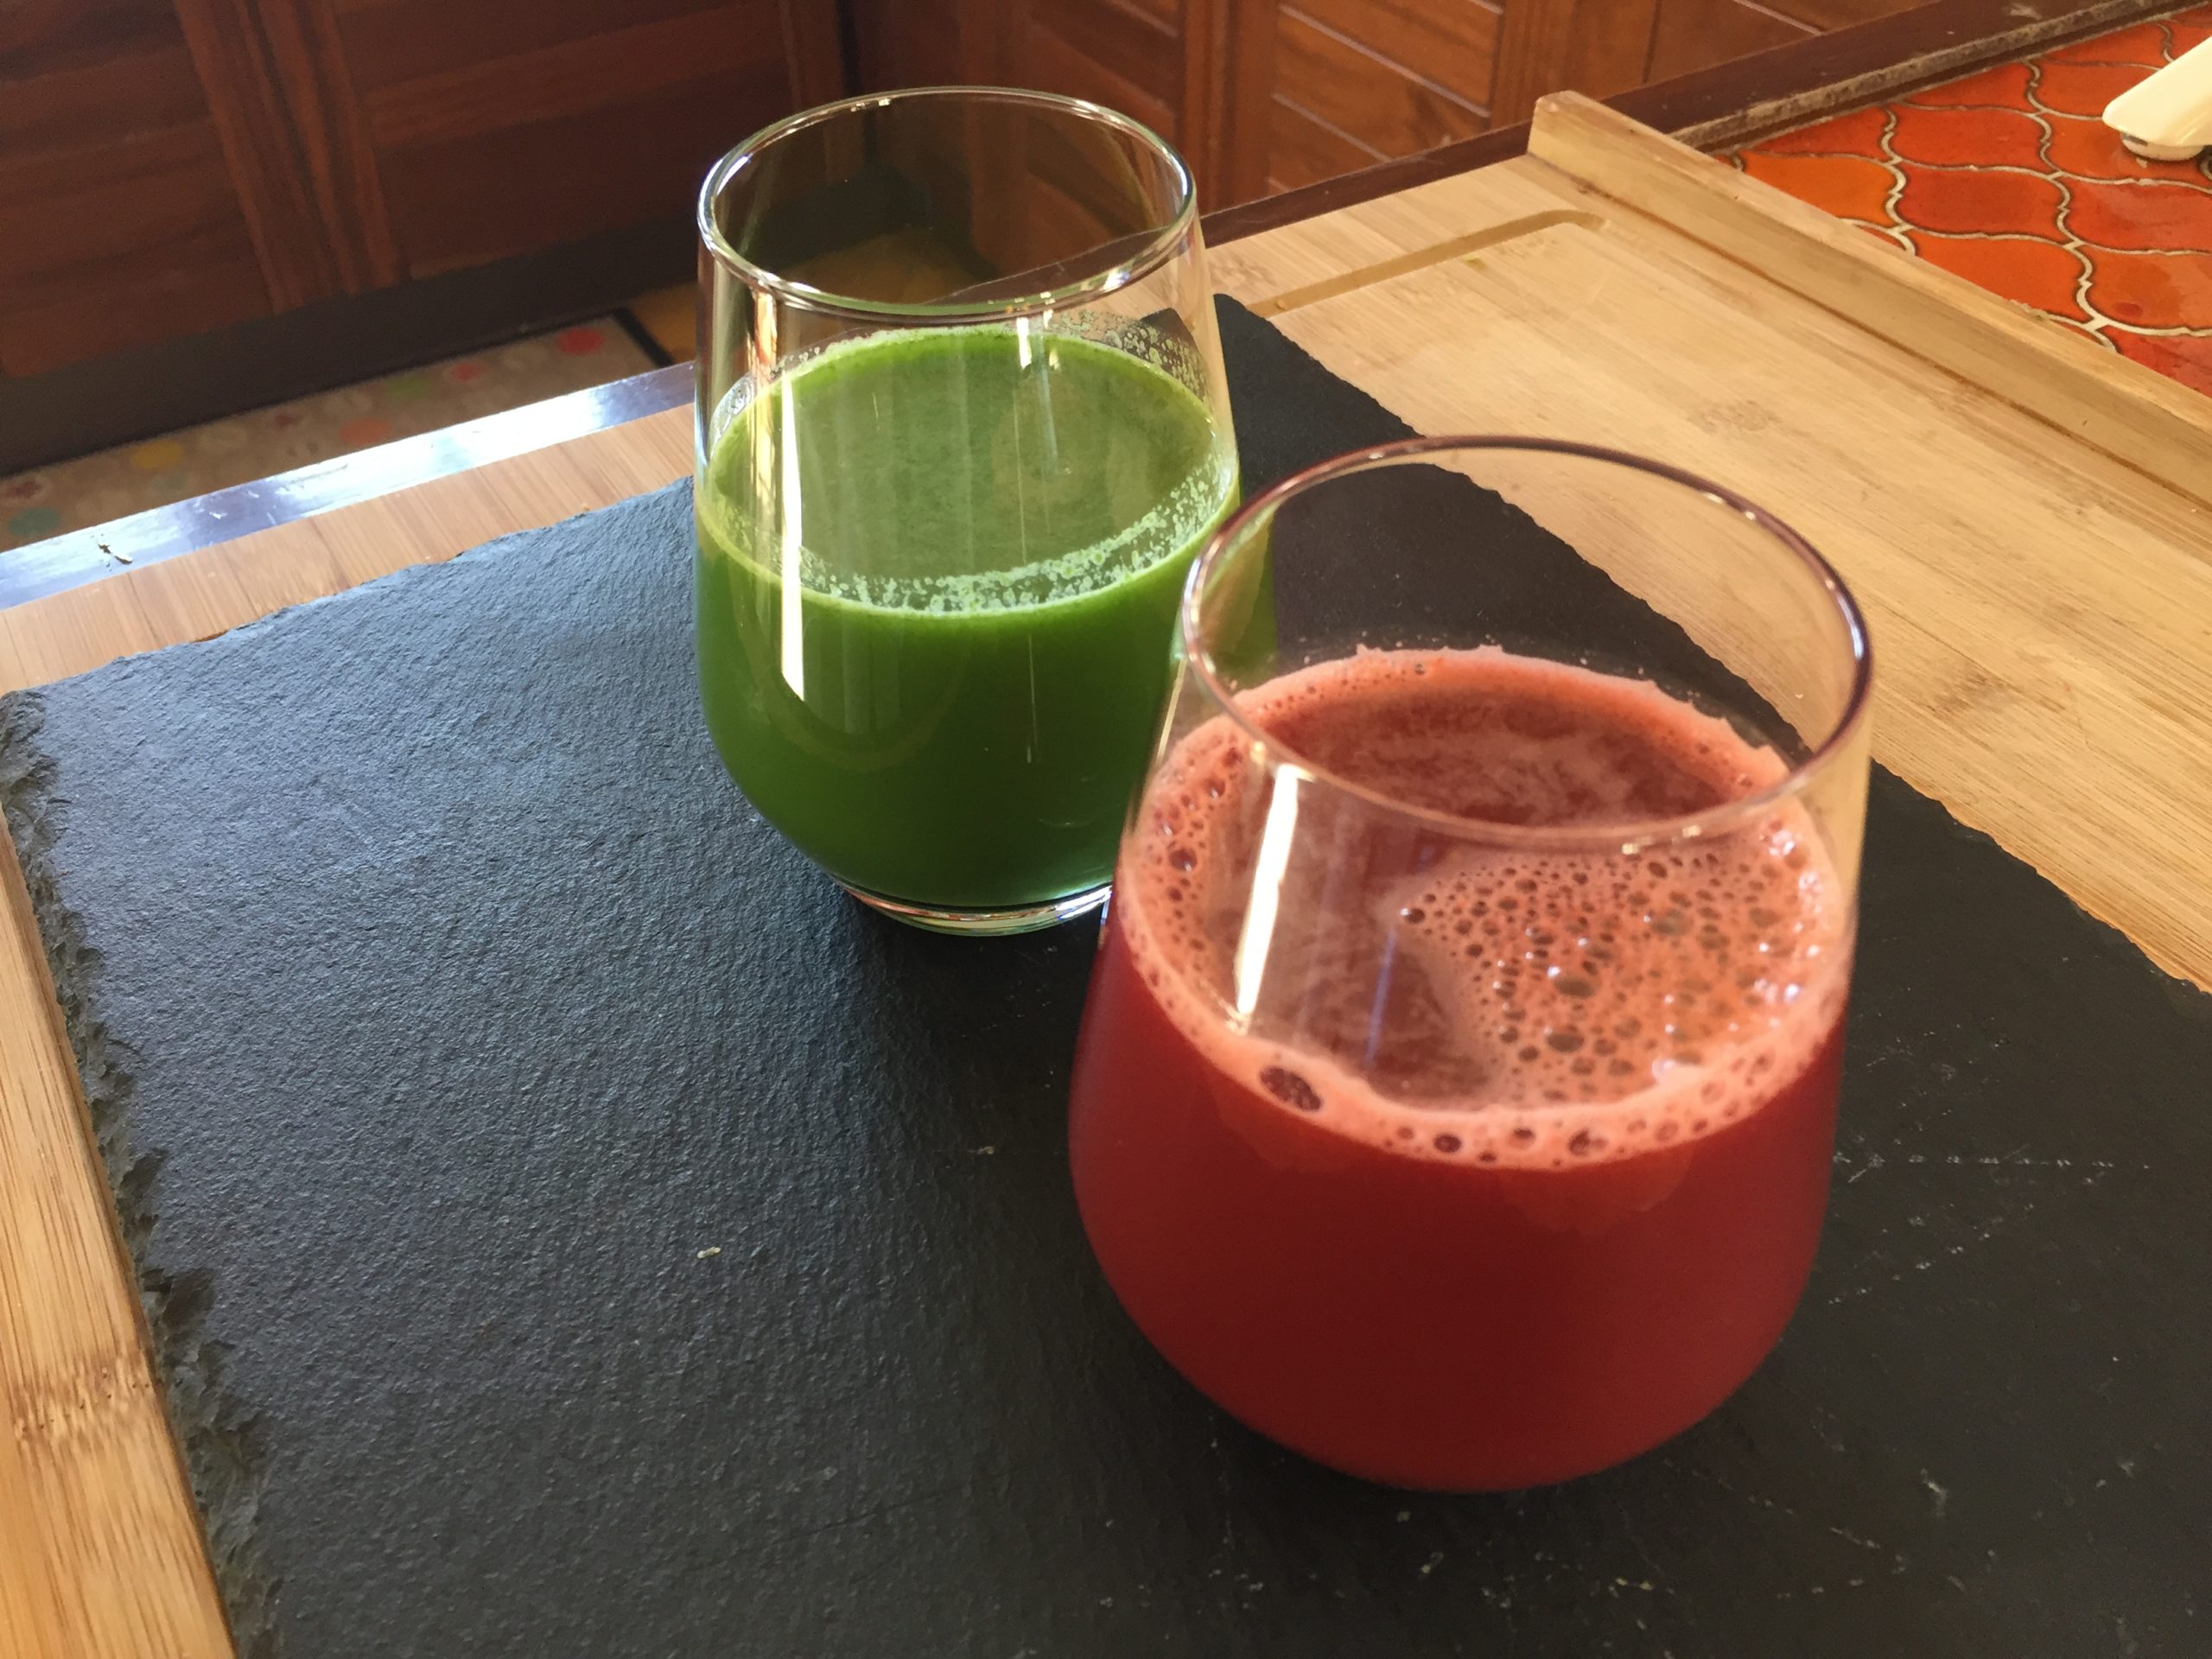
I like to include fresh juices as part of my daily health routine. You don’t need to follow a juice-only detox or fast in order to get the benefits of juicing. Simply adding in 1-2 glasses of fresh juice every day can have a dramatic impact on your health. When you’re ill or actively fighting cancer then I suggest increasing this amount to at least 1 quart (or 4 glasses) per day.
Let’s get started with some simple juices highlighting the following cancer power foods: carrot, celery, beet, kale, citrus, & ginger. And although the green apple adds a bit of sweetness to the juice, green apples are also a great detox supporting food.
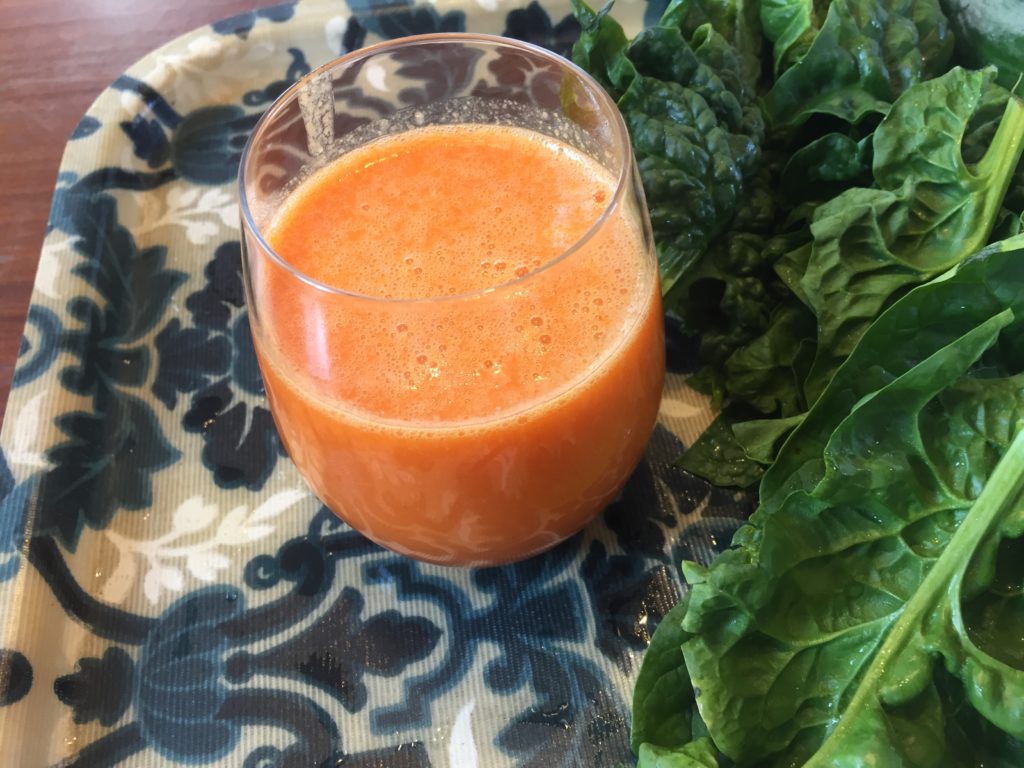
Simple Carrot-Apple Juice
Makes ~4 cups
Ingredients
- 6 large carrots
- 2 green apples
Directions
Step 1: Wash your ingredients well and chop apples in quarters. You do not not need to peel or de-core the ingredients.
Step 2: Add all ingredients into your juicer one at a time.
Step 3: If the pulp is still wet, you can “re-juice” by pushing the pulp back through the juicer.
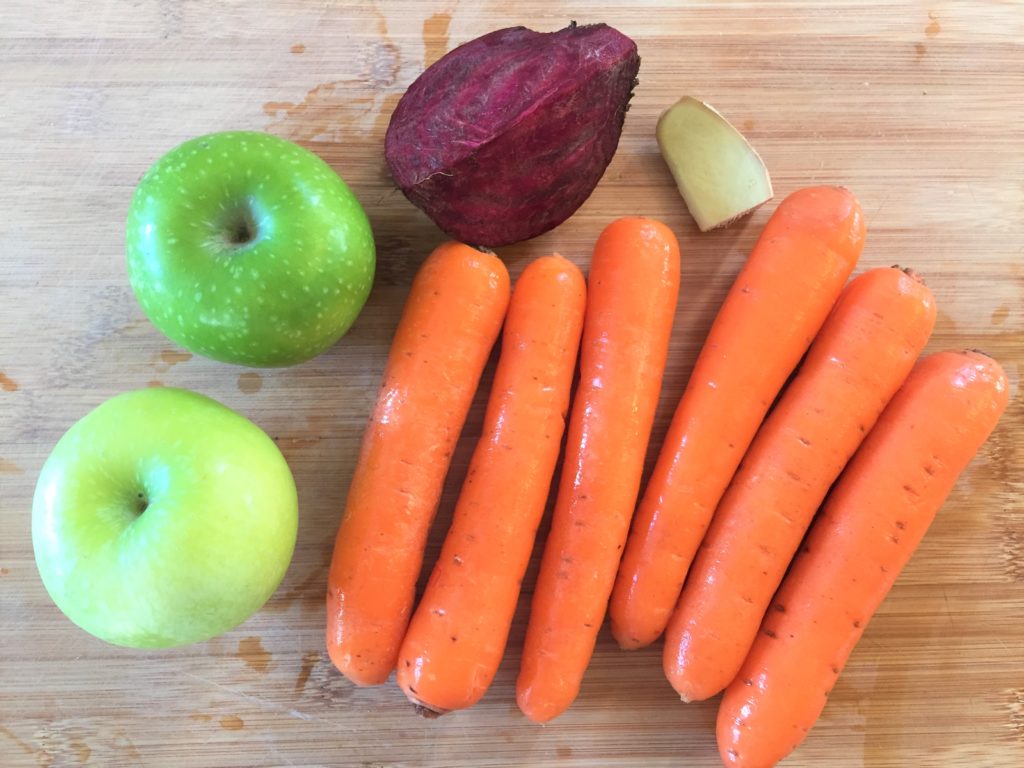
Carrot Juice Elevated
Makes ~4 cups
Ingredients
- 6 large carrots
- 2 green apples
- 1 medium beet
- 1 inch fresh ginger root
Directions
Step 1: Wash your ingredients well. You do not not need to peel any of them, however you could peel the beet if the taste is too “earthy” for you. Chop the apples in quarters and the beet in half.
Step 2: Add all ingredients into your juicer one at a time.
Step 3: If the pulp is still wet, you can “re-juice” by pushing the pulp back through the juicer.
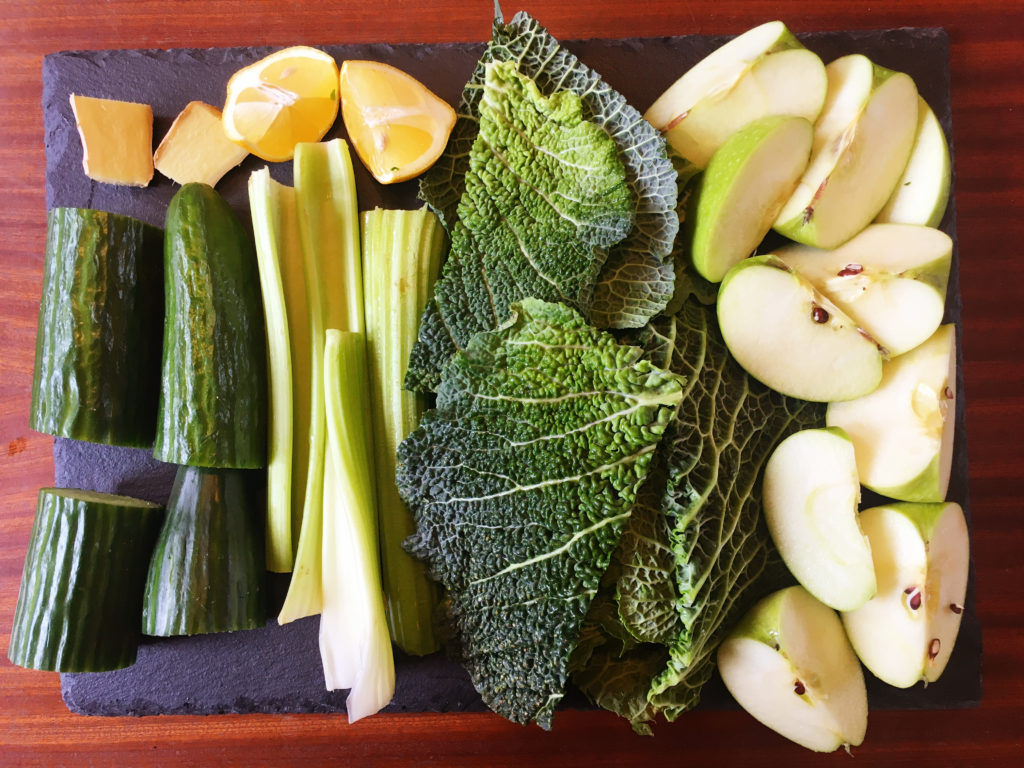
Basic Green Juice
Makes ~4 cups
Ingredients
- 1 whole cucumber
- 6-8 kale leaves (or other leafy green)
- 2 large celery stalks
- 2 green apples
- ½ lemon
- 1 inch fresh ginger root
Directions
Step 1: Wash your ingredients well. You do not not need to peel any of them. Chop the apples in quarters and the greens in half if the leaves are large.
Step 2: Add all ingredients into your juicer one at a time. Depending on your juicer, the greens can sometimes get stuck. I suggest alternating a leaf with an apple when you’re feeding it through the juicer.
Step 3: If the pulp is still wet, you can “re-juice” by pushing the pulp back through the juicer.
Don’t Be Afraid To Experiment
Let yourself be creative with different juice combinations. If you need more inspiration, there are a lot of great juicing resources out there. I personally like the book “The Juicing Bible” by Pat Crocker. Kris Carr also has a great book “Crazy Sexy Juice” and she has many yummy juice recipes on her Blog.
I hope these recipes will be just the beginning of your juicing adventure. Don’t be intimidated if you’ve never done this before. I promise it’s much easier than it seems and even the clean-up gets easier in time. Give it a try and let me know how it goes for you.


